Simple Country Sourdough
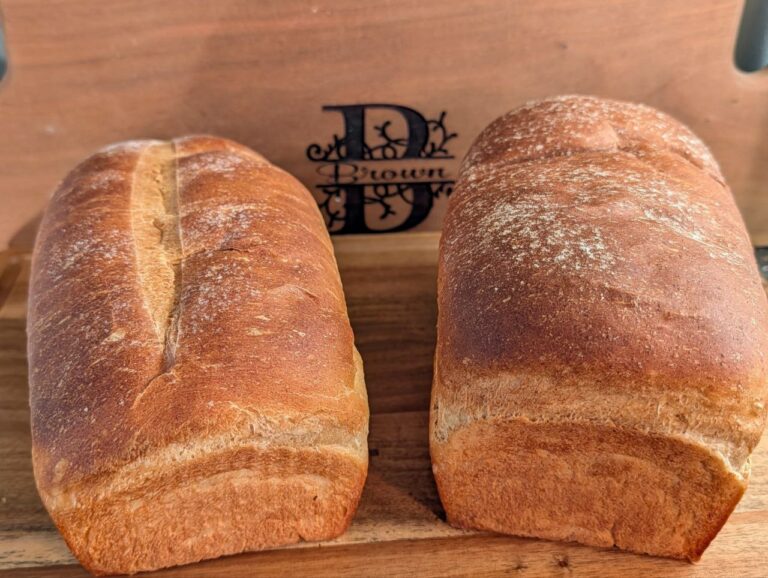
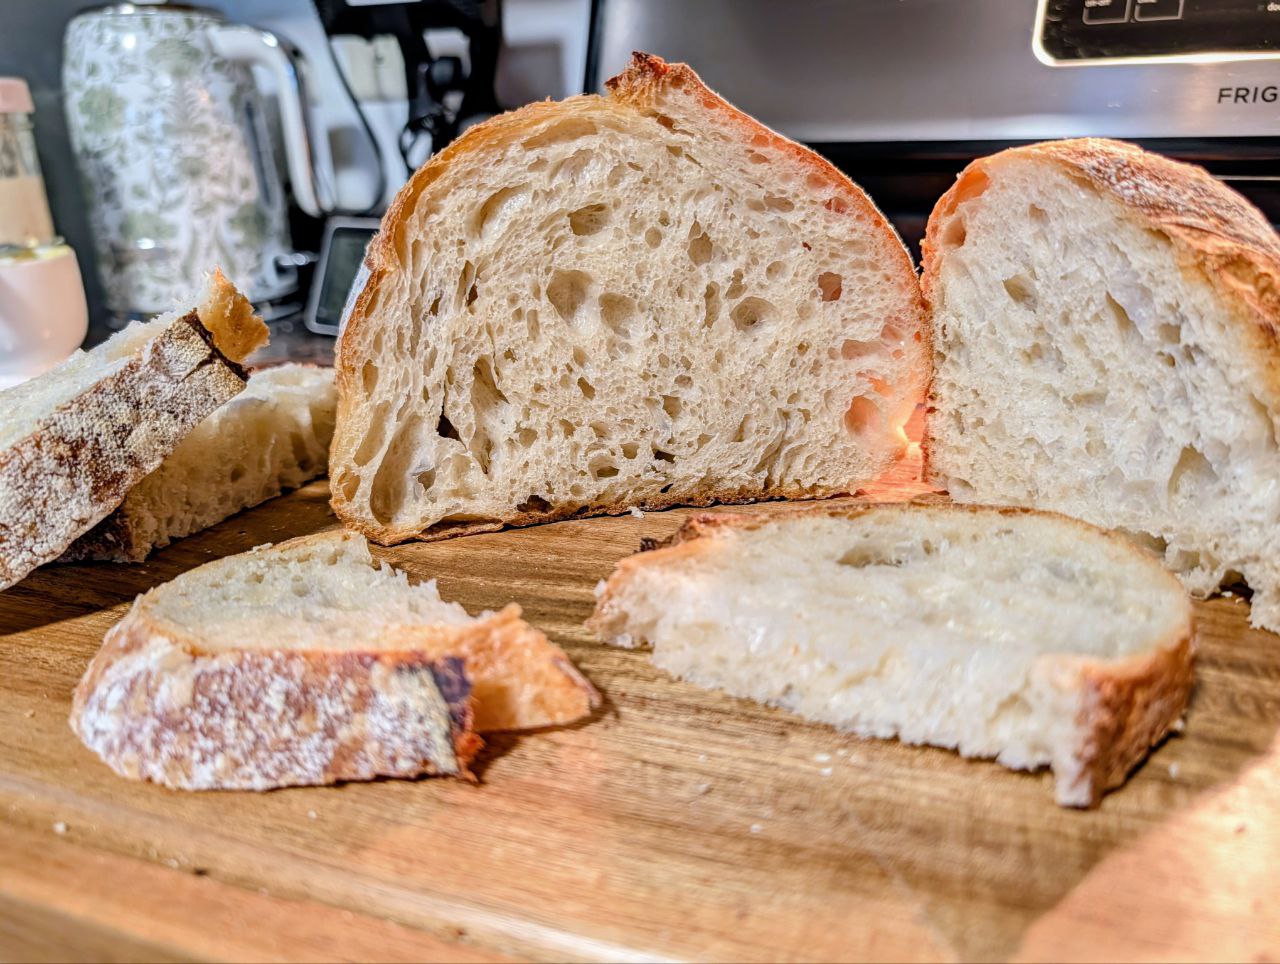
This country sourdough recipe produces two beautiful rustic loaves with a crisp crust and soft open crumb. The dough hydration is moderate (about 68%), which makes it easier to handle than very wet artisan doughs while still producing excellent texture and flavor.
This recipe uses simple ingredients and a slow cold fermentation to develop flavor and structure.

Disclosure: As an Amazon Associate, I earn commissions from qualifying purchases. If you choose to purchase through the links on this page, it helps support Going Homesteadily and our family at no additional cost to you. I only share products I personally use and truly find helpful in our home.
Ingredients
Dough:
- 200 g active sourdough starter
- 1000 g bread flour or unbleached all purpose flour
- 600 g warm water
Salt mixture:
- 20 g salt
- 50 g warm water
Total dough weight: about 1870 g, divided into two loaves.
Step 1: Mix the Dough
- In a large bowl combine:
- 1000 g flour
- 600 g warm water
- 200 g active sourdough starter
- Mix until all the flour is fully hydrated and no dry spots remain. The dough will look shaggy and rough.
- Cover and let the dough rest 30 minutes. This rest period allows the flour to absorb the water and begins gluten development naturally.
Step 2: Add Salt
- Mix together:
- 20 g salt
- 50 g warm water
- Pour the salt mixture over the dough.
- Use a pinch and fold motion to work the salt into the dough. Pinch sections of dough between your fingers and fold them back over themselves until the salt is fully incorporated.
- Continue mixing until the dough begins to come together and can form a loose ball.
- Cover and let rest 30–45 minutes.
Step 3: Coil Folds
Coil folds strengthen the dough without aggressive kneading.
To perform a coil fold:
- With slightly wet hands, slide both hands underneath the center of the dough.
- Lift the dough upward so the ends hang down.
- Allow the dough to fold under itself as you lower it back into the bowl.
- Rotate the bowl and repeat on all four sides.
The dough should begin to feel smoother and stronger after each fold.
Perform: 4 coil folds
- Cover and rest 30–45 minutes.
- Then perform a second set of coil folds.
Do 4 folds, but if the dough begins resisting and does not stretch easily without tearing, stop after 3 folds. This indicates the gluten is already well developed.
Step 4: Bulk Fermentation
Allow the dough to ferment covered at room temperature until it has increased by about 50–60% in volume.
If using a 4-quart Cambro container, the mixed dough will sit around the 2 quart mark. When ready to shape it will usually reach close to the 3 quart mark. [Shop 4q Cambro containers]
Signs the dough is ready include:
- noticeably puffed and airy
- visible bubbles along the sides and surface
- the dough jiggles slightly when the container is moved
- the surface appears smooth and slightly domed
If the dough still looks dense or tight, allow fermentation to continue.
Step 5: Divide and Bench Rest
- Lightly flour your work surface. I find this sugar shaker to be especially helpful for light dusting! [Shop flour and sugar shaker]
- Gently remove the dough from the container, being careful not to deflate it.
- Divide the dough into two equal portions.
- Shape each piece loosely into a round ball by gently pulling the outer edges toward the center.
- Let the dough rest 20 minutes on the bench. This allows the gluten to relax before final shaping.
Step 6: Final Shaping
Lightly flour the top of the dough and flip it over so the floured side is down.
To shape:
- Gently stretch the bottom third of the dough toward the center.
- Fold the sides inward like closing a book.
- Roll the dough upward while tightening the surface.
- Pinch the seam closed to seal the dough.
- Place the loaf seam side up into a floured banneton or bowl lined with a floured towel. I love my rattan bannetons for this! [Round banneton and proofing set] [Oval banneton proofing set]
- Repeat with the second loaf.
Step 7: Cold Fermentation
Want to bake the same day for a more mild flavor? Check out the “Want to Skip the Overnight Fermentation?” section on this page.
- Cover the bannetons and place them in the refrigerator. These plastic hairnet style covers are perfect for this step! [Shop plastic covers]
- Allow the dough to cold ferment for 16–30 hours.
- This slow fermentation deepens the sourdough flavor and makes the dough easier to score before baking.
Step 8: Preheat the Oven
- Place a Dutch oven with the lid on inside the oven. If you are in the market for a Dutch oven for baking, these work great for me! [Shop 4.5q Round Dutch Oven] [Shop 5q Oval Dutch Oven]
- Preheat to 450°F for 45 minutes.
- A fully heated Dutch oven helps create strong oven spring.
Step 9: Score and Bake
- Remove the dough from the refrigerator.
- Flip the loaf seam side down onto parchment paper or a silicone bread sling.
- Score the surface with a bread lame or sharp blade.
- Carefully remove the hot Dutch oven using oven mitts.
- Lower the dough into the Dutch oven, cover with the lid, and return to the oven.
Bake:
- 20 minutes covered
- Then remove the lid and bake 20–25 minutes uncovered
- The loaf should be deep golden brown with an internal temperature around 210°F.
- Repeat with the second loaf.
Step 10: Cooling
- Remove the bread from the Dutch oven and place on a cooling rack.
- Allow the loaves to cool for at least 1 hour before slicing.
- Cutting too early can cause the crumb to become gummy.
Storage
Room temperature: 2–3 days
For longer storage, slice and freeze the bread in an airtight bag. Toast slices directly from frozen.
Want to Skip the Overnight Fermentation?
You can absolutely bake this bread the same day if you prefer.
Skipping the cold fermentation produces a milder sourdough flavor, but the bread will still have a beautiful crust and soft crumb. This is a great option when you start the dough earlier in the day and want fresh bread for dinner.
Same-Day Baking Option
After shaping the loaves and placing them seam side up in bannetons:
- Cover the dough and allow it to proof at room temperature for 1–2 hours.
- The dough should look slightly puffed and spring back slowly when gently pressed.
- Preheat your Dutch oven as described in Step 8.
- Score and bake exactly as written.
Because the dough is warmer, it may spread slightly more when turned out for baking. This is normal and the loaf will still rise beautifully in the Dutch oven.
Flavor Difference
Cold fermentation develops a deeper sourdough flavor and slightly more open crumb, while same-day baking creates a milder, classic country bread flavor that many families actually prefer for sandwiches and toast.
Both methods produce excellent rustic sourdough, so you can choose whichever schedule works best for your kitchen.