Bread Recipe: Farmhouse Sourdough Sandwich Bread
If you love the flavor of classic country sourdough but need something a little softer and more practical for everyday family life, this recipe may become your new favorite loaf.
After lots of experimenting with enriched sourdough sandwich breads, I realized I did not actually want fluffy grocery store bread. I wanted my regular country sourdough with a softer crust that my toddlers could bite through more easily.
The answer turned out to be much simpler than expected.
Instead of heavily enriching the dough with butter, eggs, or commercial yeast, this recipe keeps the classic country sourdough formula nearly intact while changing the method:
- Bake in loaf pans instead of free-form boules
- Allow a full second rise in the pans
- Bake at a lower temperature
- Cool under a towel for a softer crust
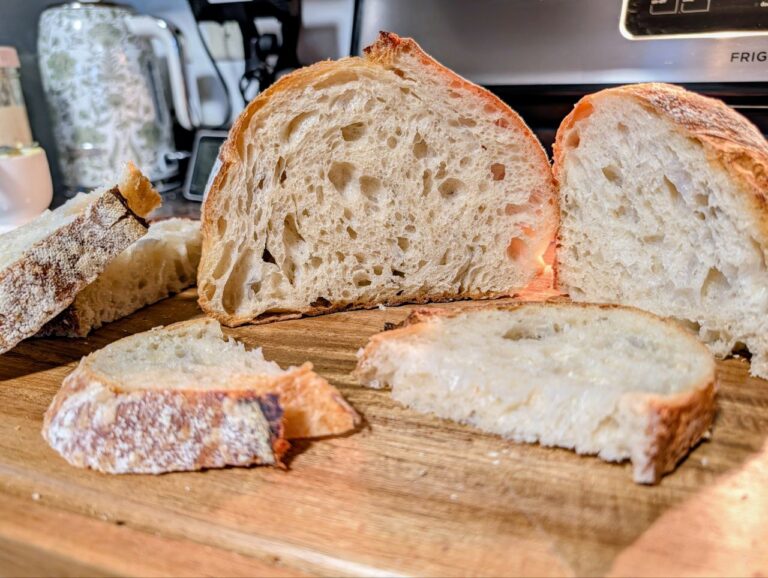
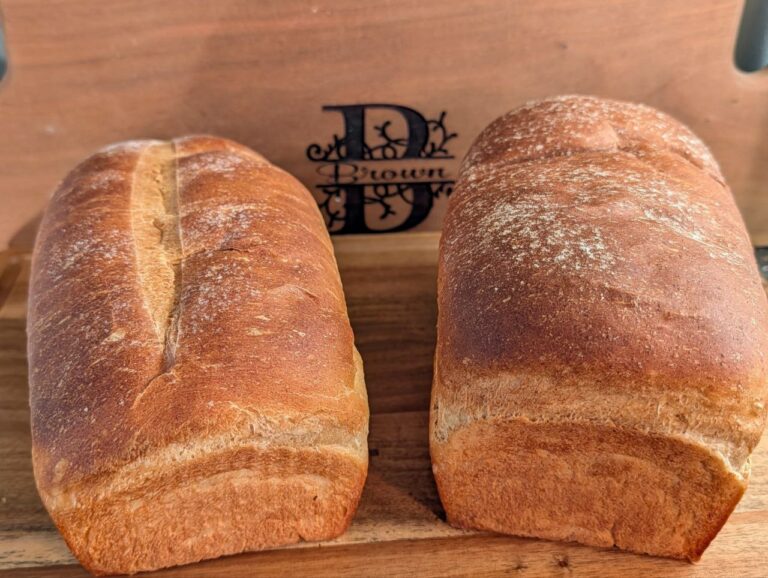
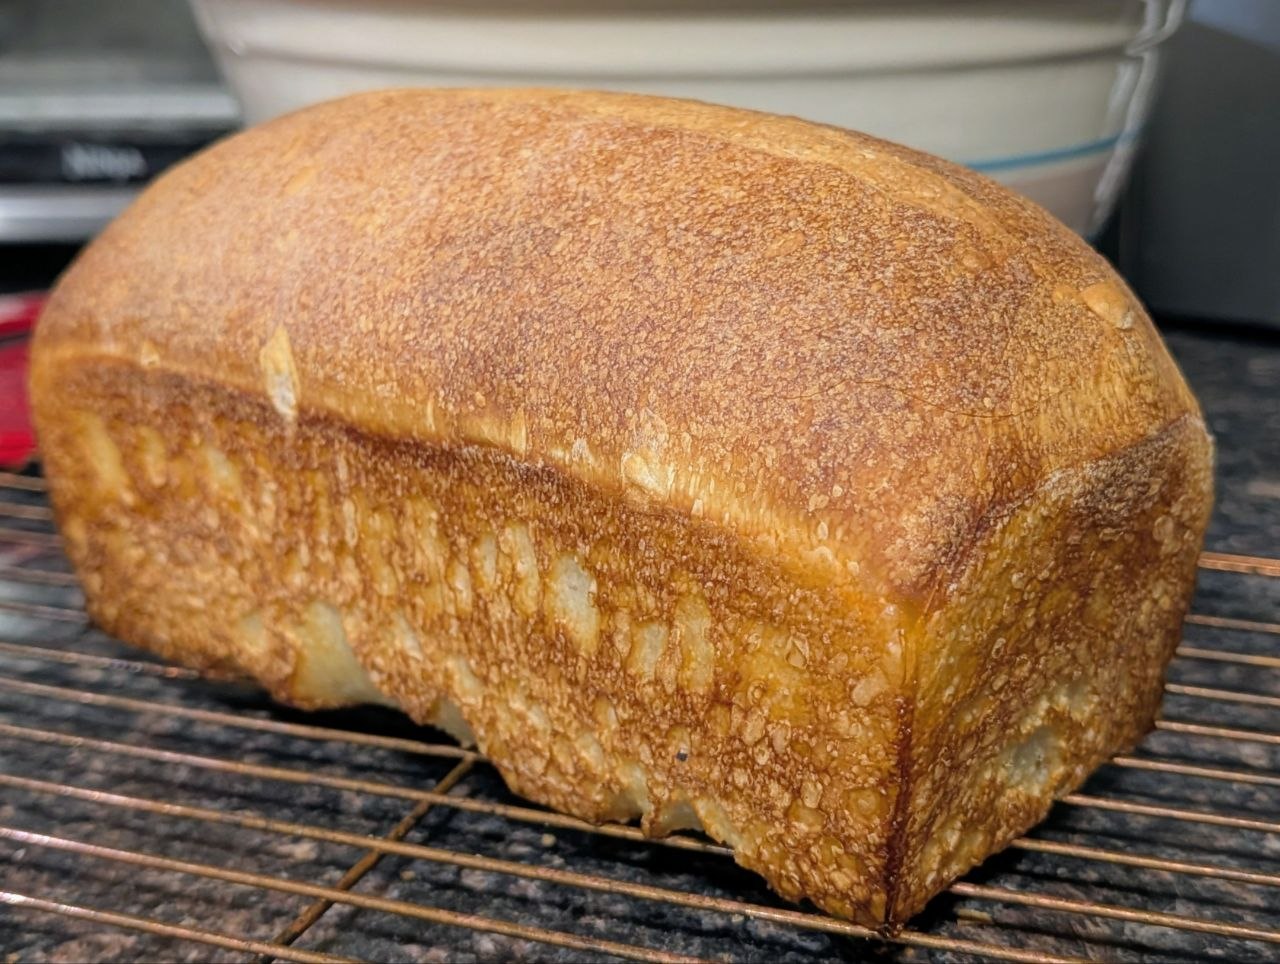
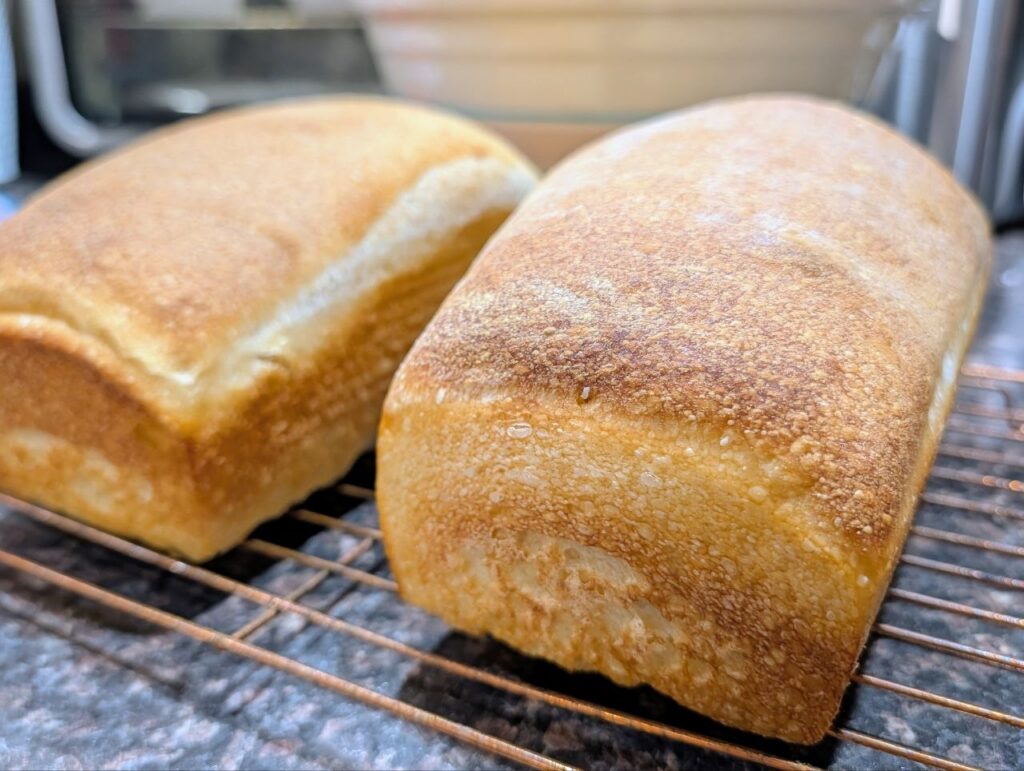
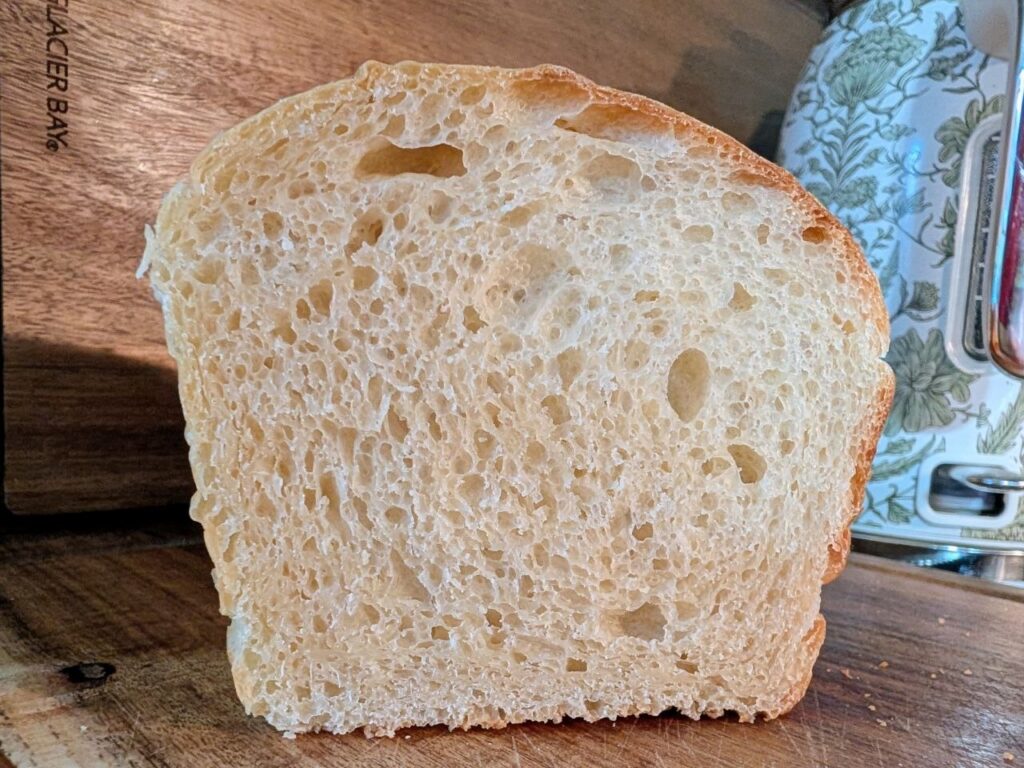
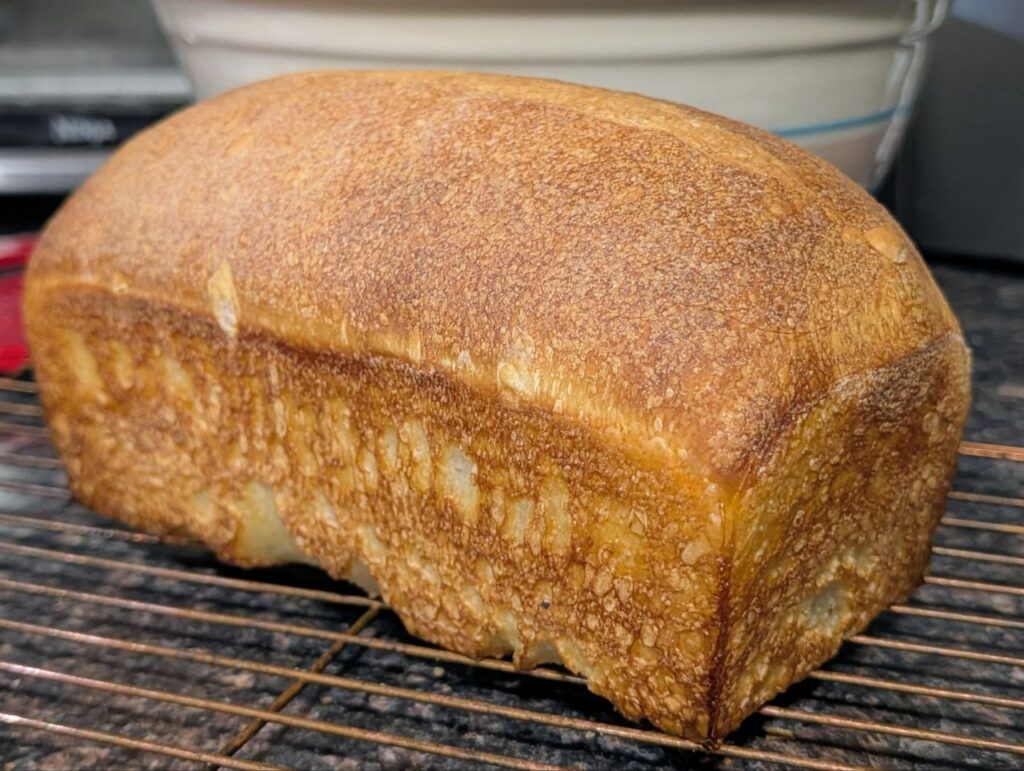
The result is a beautiful farmhouse-style sourdough sandwich loaf with a tender crust, soft chewy crumb, wonderful sourdough flavor, and excellent texture for toast, sandwiches, or warm bread with butter.
It is rustic, practical, and flexible enough for real family life.
Disclosure: As an Amazon Associate, I earn commissions from qualifying purchases. If you choose to purchase through the links on this page, it helps support Going Homesteadily and our family at no additional cost to you. I only share products I personally use and truly find helpful in our home.
Why You’ll Love This Bread
- True sourdough flavor without commercial yeast
- Softer crust than traditional artisan sourdough
- Sliceable and sandwich-friendly
- Excellent toasted
- Easier for kids to chew
- Uses simple pantry ingredients
- Flexible timing for busy households
- No Dutch oven required
Ingredients
Makes 3 sandwich loaves in 1 lb loaf pans.
- 1000 g bread flour
- 700 g water
- 200 g active sourdough starter
- 20 g salt
- Optional: 20–30 g milk powder for slightly softer crust and crumb
That’s it.
Equipment
- Sandwich loaf pans – I did 3 one pound loaves from USA Pan and will be trying 2 of the 1.25 USA Pan loaf pans next
- Large mixing bowl
- Bench scraper
- Kitchen scale
- Cooling rack
- Clean kitchen towel
Want to learn more about baking tools? Check out my the Baking Essentials page.
Step 1: Feed Your Starter
The before baking, feed your sourdough starter so that it will be at peak when you plan to mix.
In warmer homes, feeding around 9–10 PM and mixing dough around 7–8 AM works well. You may also prefer to do a 1:1:1 feed earlier in the morning, though this may make it challenging to bake the same day.
If your home is cooler (under 75°F), fermentation may take longer.
Step 2: Mix the Dough
In a large bowl, combine:
- Water
- Active starter
- Milk powder (if using)
Stir until combined.
Add bread flour and salt.
Mix until no dry flour remains.
The dough may feel shaggy, sticky, and somewhat slack at first. That is completely normal. You can continue to mix beyond this point if you prefer for gluten development.
Cover and rest for 30 minutes.
Step 3: Stretch and Folds
Perform 3-4 rounds of four stretch and folds or four coil folds every 30 minutes. I usually do a stretch and fold the first round and coil folds for the next 2-3 rounds.
The dough should gradually:
- Strengthen
- Smooth out
- Become more elastic
- Hold shape better
Do not panic if the dough feels softer and more extensible than your typical sandwich bread. This dough is meant to stay somewhat soft and extensible. Typically, the first fold or two will be really stretchy and should tighten by the third and fourth.
Step 4: Bulk Fermentation
After the final fold, allow the dough to bulk ferment until:
- Puffy
- Slightly domed
- Bubbly along edges
- Increased roughly 50–75%
Timing will vary dramatically depending on your house temperature and starteractivity.
In warmer homes around 78–80°F, bulk fermentation may move surprisingly fast. In cooler air-conditioned homes under 75°F, expect a slower and more manageable timeline.
The dough should not look dramatically marshmallowy or overinflated.
Step 5: Divide and Shape
Turn the dough onto a lightly floured surface.
Divide into 3 equal portions (2 portions if using 1.25-1.5 pound pan).
Preshape the dough balls.
Allow to rest 15–20 minutes.
Then shape each loaf tightly enough to create surface tension while still preserving gas inside the dough.
Place seam-side down into greased loaf pans (you do not want to skip greasing your pans with this recipe).
Step 6: Final Proof
This is the step that makes the biggest difference.
Traditional country sourdough often relies heavily on oven spring. Sandwich loaves need a true second rise inside the pan.
Allow the loaves to rise until:
- Puffy
- Slightly jiggly
- Rounded on top
- About 1 inch above the rim of the pan
Depending on dough temperature and room temperature, this can take several hours.
Do not rush this stage.
Overnight Refrigerator Option
You can also refrigerate covered loaves overnight to enhance the sourdough tang and save time if you cannot bake the same day. I have put them right into the refrigerator after shaping and I have left them sit to rise about half way first. I would not let them rise beyond the top of the pan to reduce risk of collapse.
The next day, remove from the refrigerator early morning and allow them to fully warm and continue rising before baking.
Cold dough can take much longer than expected to fully wake up. For instance, it took about eight hours for my loaves that were shaped and moved right to the fridge to finish proofing to be ready for baking in a 79 degree kitchen and about six hours to finish proofing in a 73 degree kitchen for the loaves I let proof about half way the first day before the fridge.
Step 7: Bake
If you choose to slice the top, gently do a shallow slice with a lame from end to end. It isn’t fully necessary, but aids some in lift and prevents splitting at the sides.
Bake at:
- 375°F
- Middle rack
- About 30–35 minutes
The loaves should:
- Be deeply golden brown
- Sound somewhat hollow
- Reach approximately 200°F internally
If tops brown too quickly, tent loosely with foil.
No Dutch oven or heavy steam is needed as we want that softer crust.
Step 8: Cool for a Soft Crust
Immediately remove loaves from pans and place on a cooling rack.
Loosely drape a clean kitchen towel over the loaves while cooling.
This traps just enough steam to soften the crust while preserving the structure of the bread.
Allow loaves to cool fully before slicing.
Notes and Tips
For Softer Crust
The softer crust comes mostly from:
- Baking in loaf pans
- Lower bake temperature
- Full pan proof
- Cooling under a towel
Not necessarily from heavy enrichment.
For More Sourdough Flavor
Longer cold fermentation will deepen flavor. I almost always leave mine in the fridge at least one night and have left for 2 nights before as well!
If the Dough Feels Slack
Warm dough can feel much softer than expected, especially during summer.
Do not automatically assume the dough is over-proofed or too wet.
Watch for:
- Smooth surface
- Doming
- Bubbles
- Strength during folds
instead of relying only on stickiness.
For Busy Families
This bread was developed during a season of parenting twins, interrupted bedtime routines, and real-life scheduling chaos.
Pan loaves are much more forgiving than artisan boules and adapt beautifully to everyday family schedules. Using active starter rather than commercial yeast goes slower, which gives you time to set it and forget it throughout the day. You’ll just want to plan ahead if you need toast for breakfast.
Serving Ideas
- Warm with salted butter
- Toasted with jam
- Grilled cheese sandwiches
- French toast
- Peanut butter toast for toddlers
- Simple farmhouse breakfast bread
Final Thoughts
Sometimes the answer is not making sourdough more complicated. Sometimes it is simply adapting traditional methods to fit real life.
This bread keeps the heart of country sourdough while becoming softer, more practical, and easier to share around the table, especially if you have family who struggle with the thick, chewy crust of the country sourdough artisan style loaf [and you can find my Simple Country Sourdough recipe here!].
And, that may be the best kind of bread there is.
Looking for a faster sandwich bread with the sourdough flavor and more of a store-bought chew? Check out my Sourdough Discard Sandwich Bread Recipe here.